A Step-by-Step Creating Guide
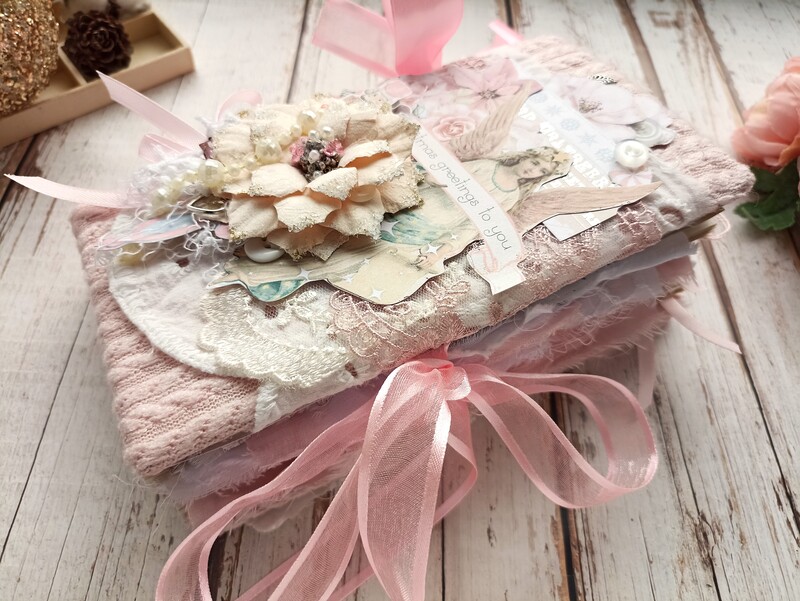
Creating a junk journal can be a fun and rewarding project that allows you to express your creativity and preserve memories. Here’s a step-by-step guide to help you get started on making your very own junk journal.
Materials Needed
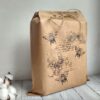
Paper: Gather various types of paper such as old book pages, scrapbooking paper, cardstock, and even envelopes.
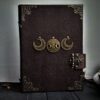
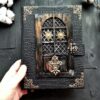
Cover: Choose a sturdy material for the cover, like cardboard, chipboard, or fabric.
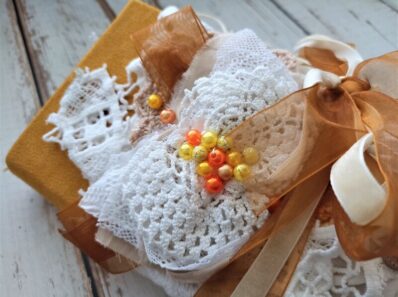
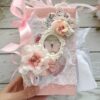
Decorative Items: Collect stickers, washi tape, lace, buttons, and other embellishments to personalize your journal.
Adhesives: Use glue, double-sided tape, or a glue stick for attaching different pages and decorations.
Binding Tools: You can use a sewing machine, staples, or ribbon to bind your journal together.
Steps to Create Your Junk Journal

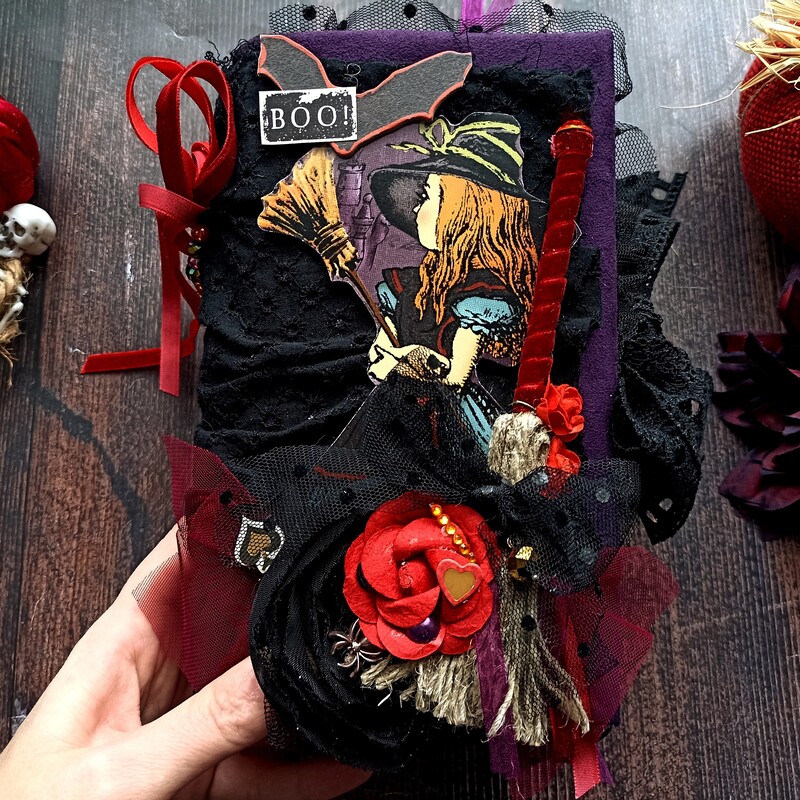
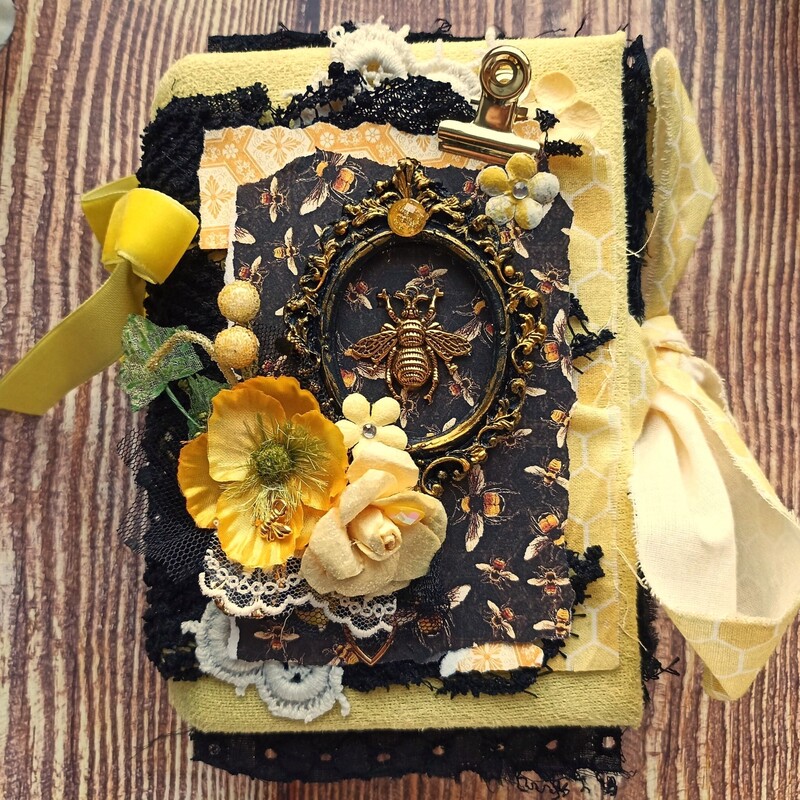
- Choose a Theme: Decide on a theme for your journal. This could be based on colors, patterns, or a specific event.
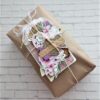
- Prepare the Cover: Cut your cover material to the desired size. Decorate it with your selected materials like fabric, paint, or embellishments.
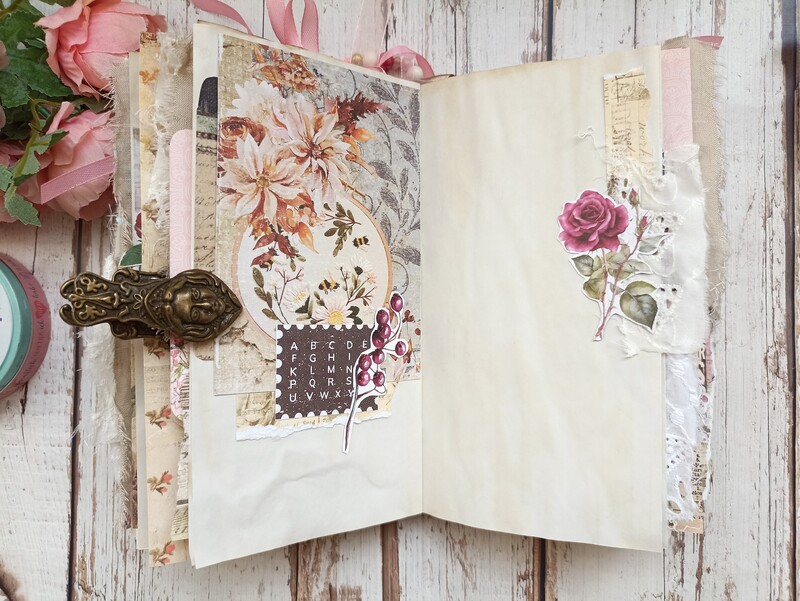
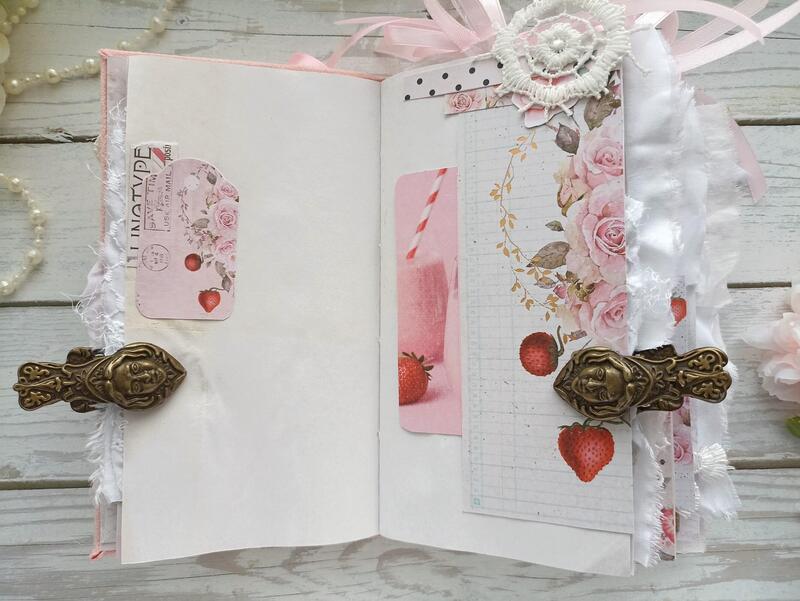
- Collect Pages: Mix and match papers for the inside of your journal. Vary the sizes and textures for added interest.
- Arrange the Pages: Lay out your pages in the order you want them. Feel free to add pockets or flaps for extra storage or space for keepsakes.
- Bind the Journal: Once your pages are arranged, bind them together. You can stitch down the spine, use staples, or thread ribbon through holes.
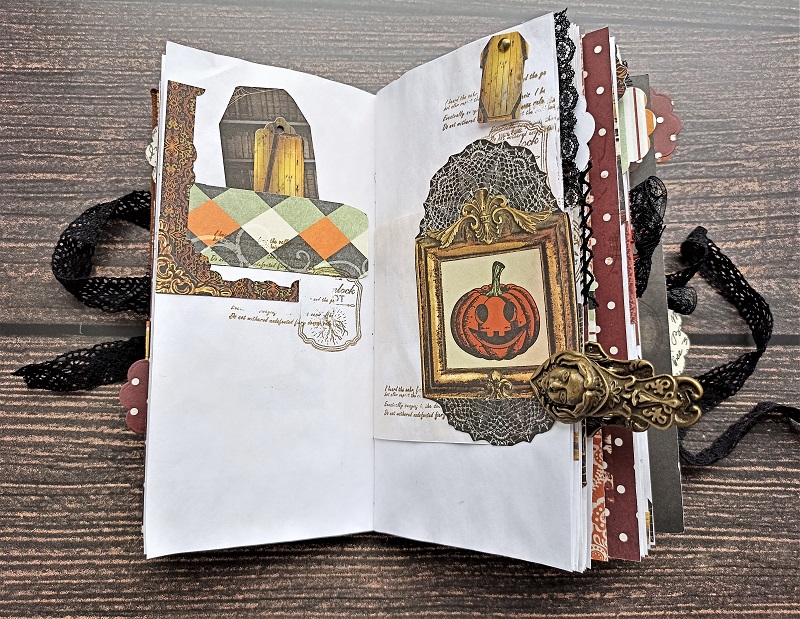
- Add Decoration: Now comes the fun part! Use your decorative items to embellish your pages. Write, draw, or paste photos and mementos in the journal.
- Personalize: Leave some blank pages to allow for spontaneous creativity as you use your junk journal.
Making a junk journal is all about expressing your individual style and creativity. There are no strict rules, so let your imagination guide you. Enjoy the process, and remember that each page is a canvas waiting for your ideas and memories!
Happy journaling!